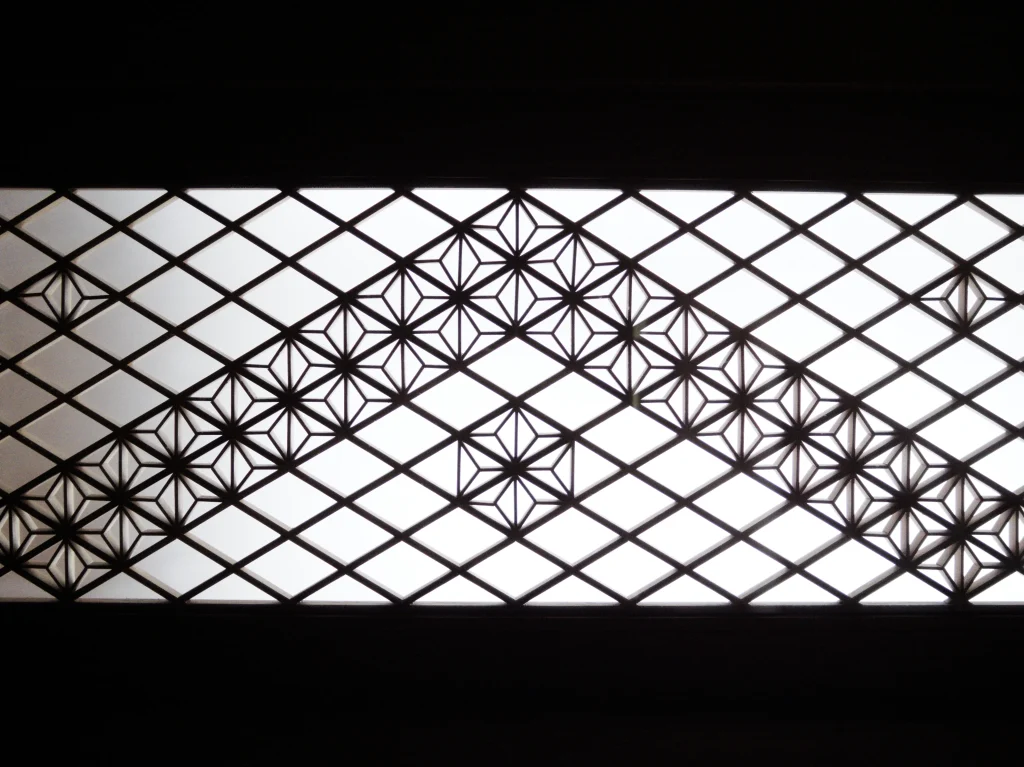
Kumiko woodworking turns narrow pieces of wood into precise geometric latticework. Craftspeople traditionally assemble these patterns without nails or metal fittings, using a prepared grid and carefully fitted parts instead.
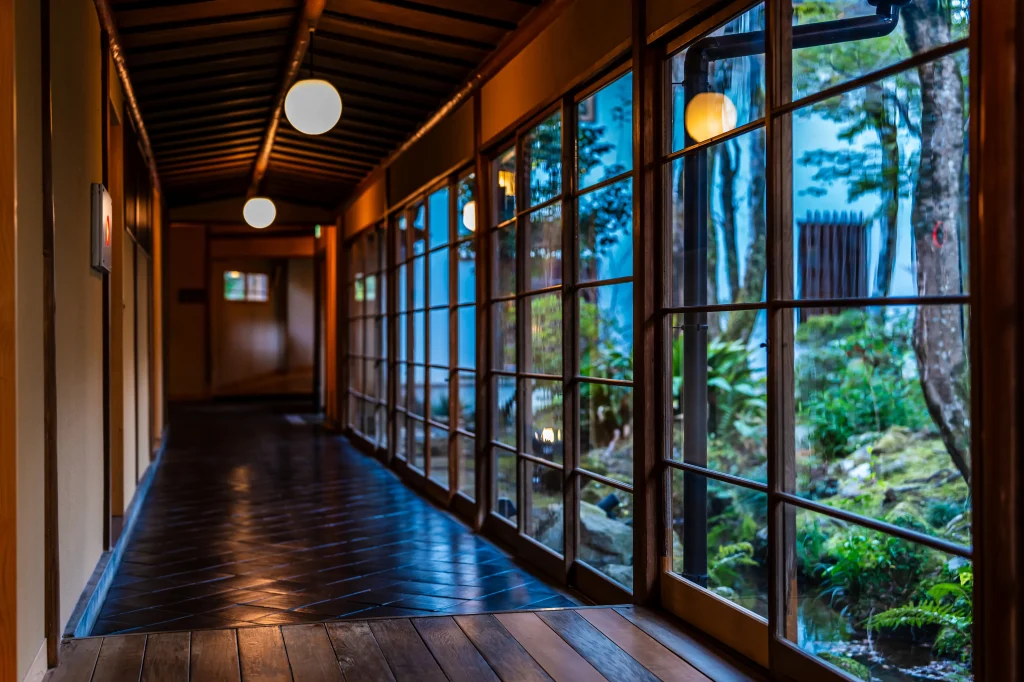
Kumiko reveals itself best indoors, where light does the final part of the work. Pale cypress or cedar catches the daylight, and the lattice breaks it into soft, repeating shadows across paper screens, plaster walls, or tatami. Rather than closing a room off, a kumiko screen simply marks where one space ends and another begins — precise enough to admire, open enough to let the light through.
This guide explains what kumiko is, how it holds together, which patterns to notice, and where travellers can see or try it in Japan. Once you understand how it is made, you will notice more than a decorative pattern in a temple, ryokan, hotel, or workshop.
What Is Kumiko Woodworking?
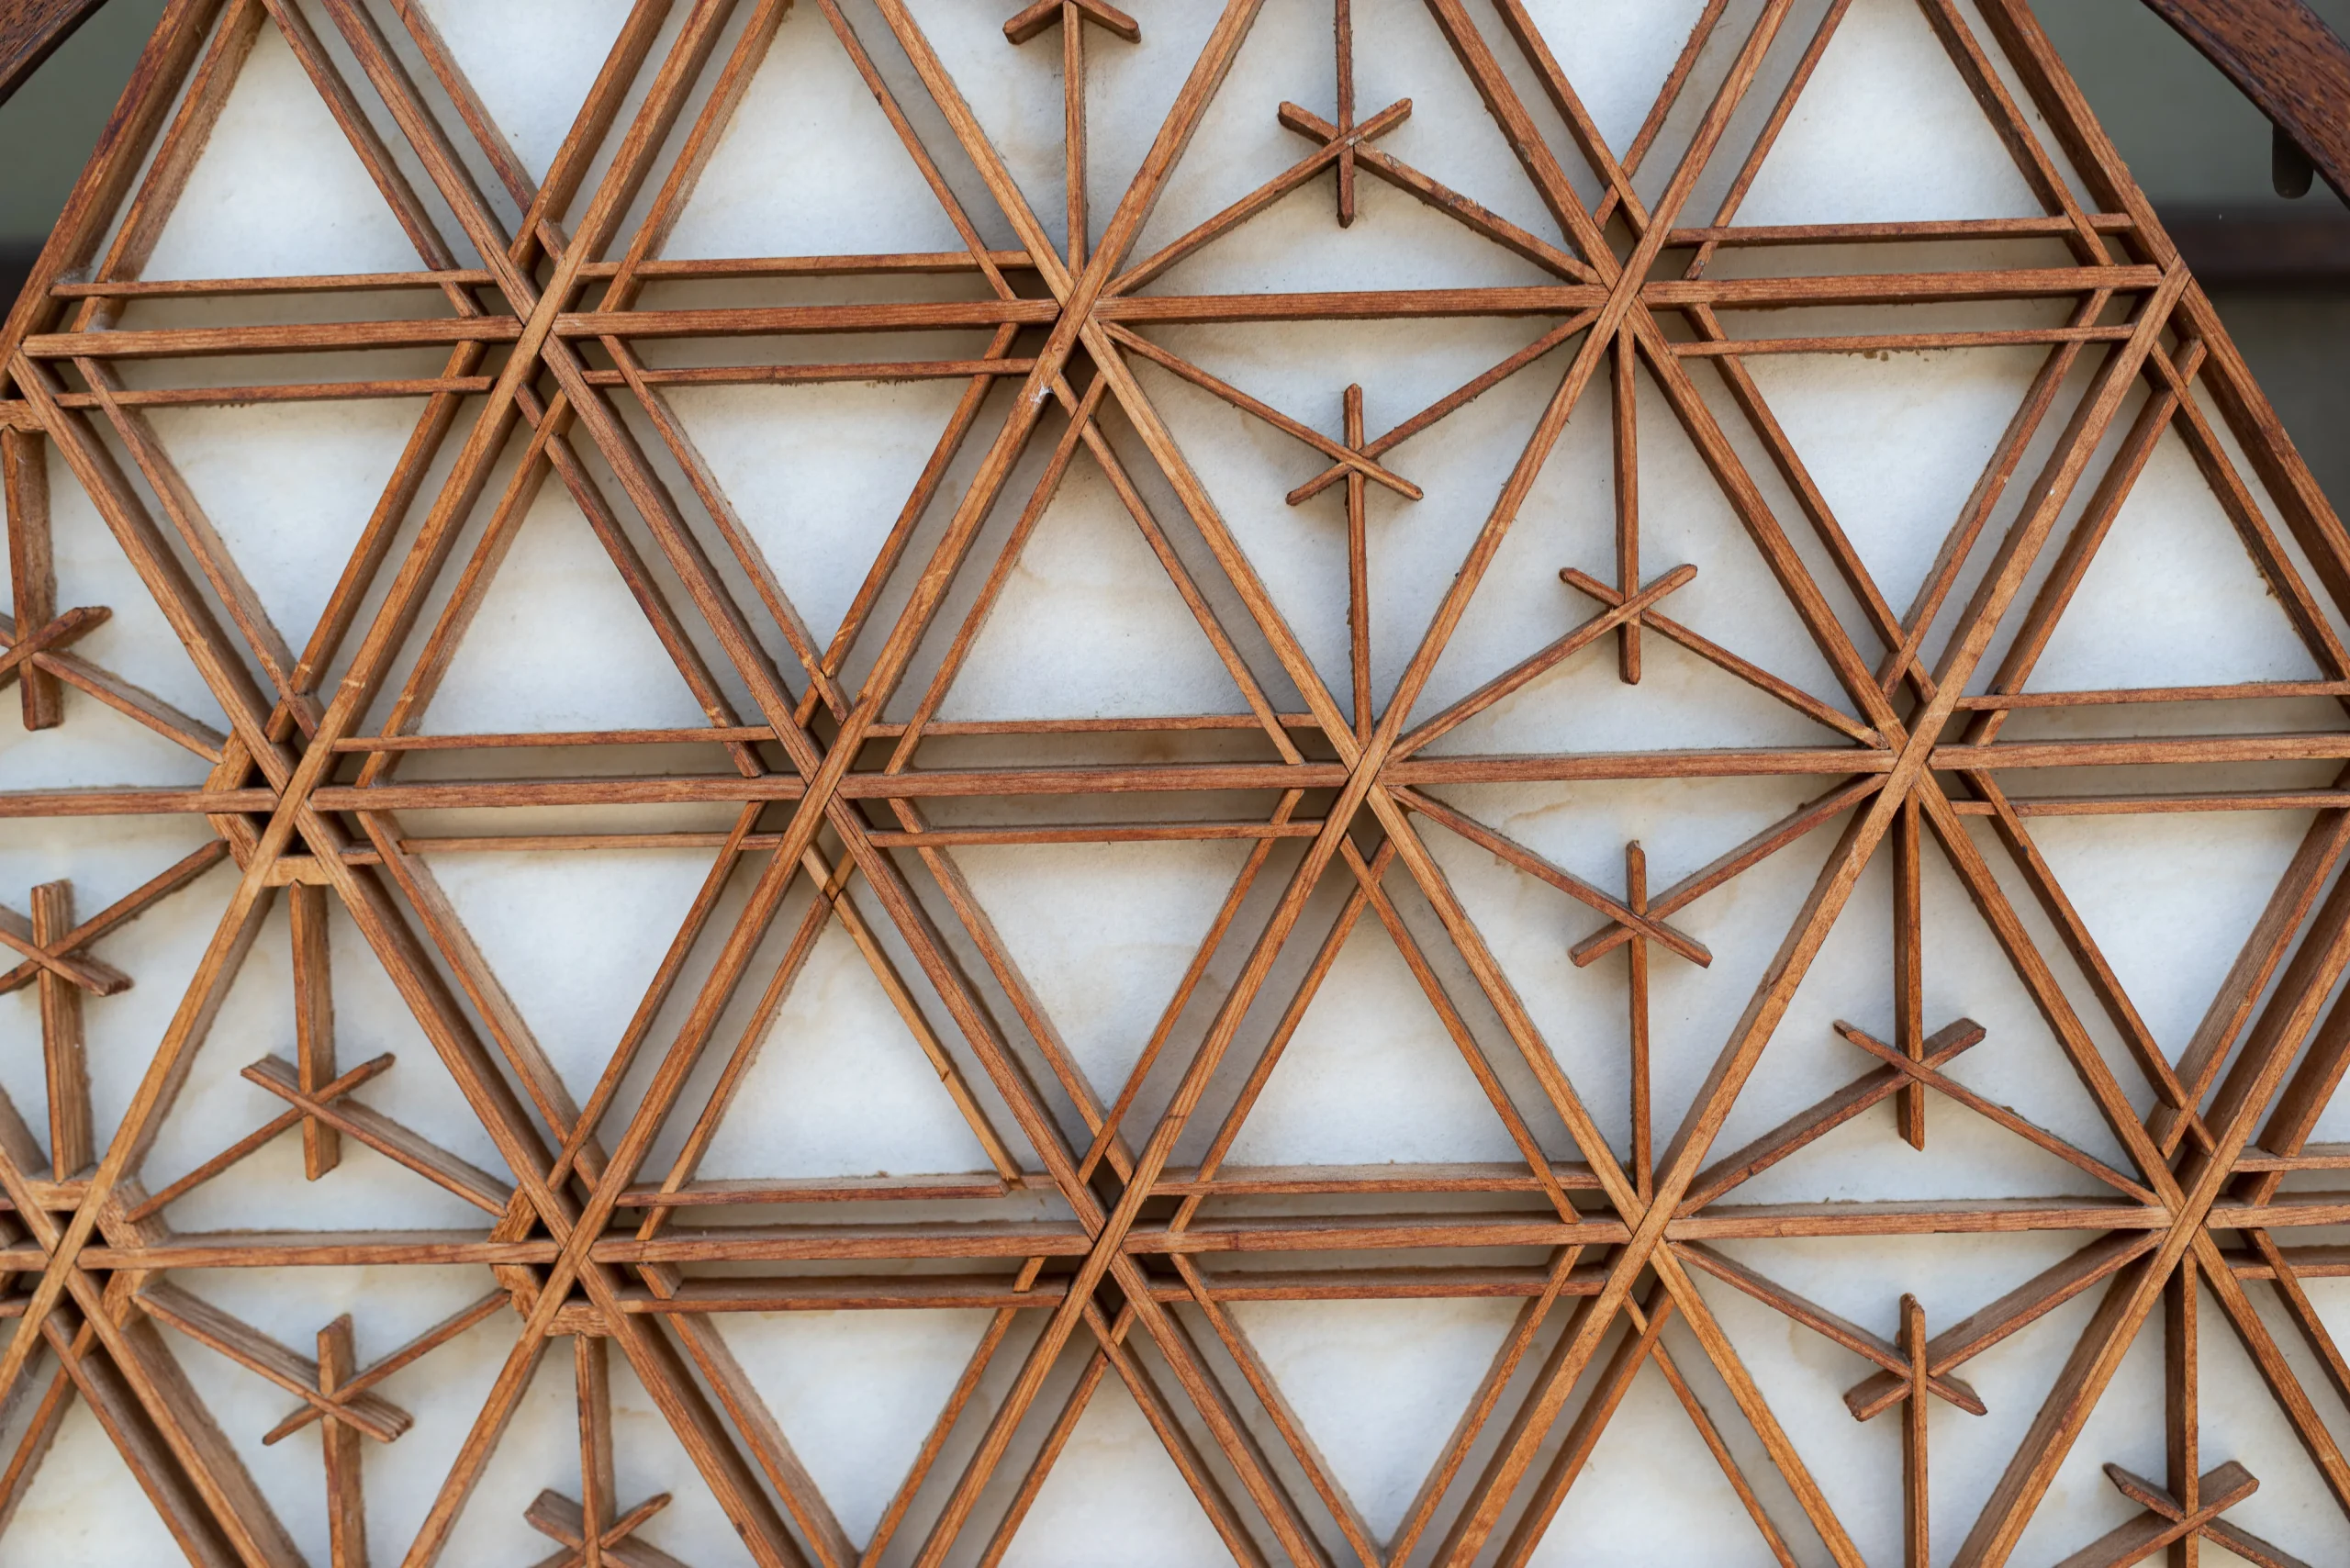
Kumiko is a Japanese woodworking technique in which narrow wooden strips form grids and geometric patterns. It belongs to the wider tradition of Japanese joinery—the craft of cutting and fitting wooden parts together—but it is not another name for Japanese joinery as a whole.
The name kumiko describes a method rather than one product, one maker, or one kind of timber. You may see it in a transom panel, sliding screen, room divider, wall panel, light fitting, or piece of furniture. In each case, separate wooden parts create a structured pattern.
Kumiko attracts attention because it can be assembled without nails or metal fittings. Yet this is only the visible result. Its deeper interest lies in the preparation of each part and in the way the pattern works within a larger wooden framework.
Kumiko in Shoji and Ranma
Kumiko has long been associated with Japanese architectural fittings, including shoji and ranma.
A shoji is a sliding screen with a wooden frame and translucent paper. A ranma is a transom panel fitted above an opening or between rooms, often with decorative woodwork. Kumiko can form part of both, but neither word means the same thing as kumiko.
These fittings explain why light matters. A lattice can separate two areas while leaving small openings between its wooden parts. Depending on the design, daylight, air, and partial views can still pass through.
Kumiko therefore works at two scales. From close range, you can inspect the narrow strips and small joints. From several steps away, those details become part of the room’s rhythm, light, and sense of space.
How Does Kumiko Hold Together Without Nails?
Kumiko holds together because each part is prepared to fit a planned structure. A supporting grid, accurate cuts, and the order of assembly matter more than the simple idea that wood grips by friction.
A kumiko pattern may look delicate, but its construction is systematic. The maker prepares each strip to a specific width, thickness, and angle. A loose part may not sit correctly, while a tight one may place unwanted pressure on the surrounding wood.
The Grid Behind the Pattern
Fundamental kumiko designs begin with jigumi, a foundation grid that supports smaller pattern pieces. Thin strips cross or connect at prepared points, creating measured spaces for further components.
The maker fits smaller wooden pieces into these spaces. Each component has a specific position, and the order of assembly can matter because one part may help locate or support the next.
This is the key to nail-free kumiko. The pieces do not simply cling together. They form a structure in which carefully cut parts occupy specific places within a grid.
Precision Begins Before Assembly
Much of the skill appears before the finished pattern exists. Craftworkers prepare the wood so that repeated pieces can meet cleanly and consistently.
Cedar and cypress are among the woods used for kumiko. Narrow strips must be brought to the right dimensions, and their surfaces must be checked before assembly. The maker also considers the grain and how the material responds to cutting.
A hand plane removes a thin curl of wood with a dry, steady sound. Freshly worked timber can release a light resinous scent. The maker checks edges and surfaces because a rough edge or inaccurate cut can affect both the fit and the final appearance.
A small component should settle into its intended position without being forced. This careful balance is one reason kumiko rewards close attention: its apparent simplicity depends on preparation that is almost invisible in the finished panel.
Four Tools That Make Precision Possible
Kumiko relies on controlled, repeatable cuts. A few traditional hand tools help craftworkers achieve them.
- Hand plane: Shaves thin layers from wood to refine a surface or dimension
- Saw: Cuts strips to the required length and prepares angled parts
- Chisel: Cuts and refines small notches
- Jig: Guides the maker when repeating the same angle or cut
The tools do not create precision by themselves. Their value lies in helping a skilled maker repeat controlled adjustments across many small components.
Kumiko Patterns: Geometry, Nature, and Light
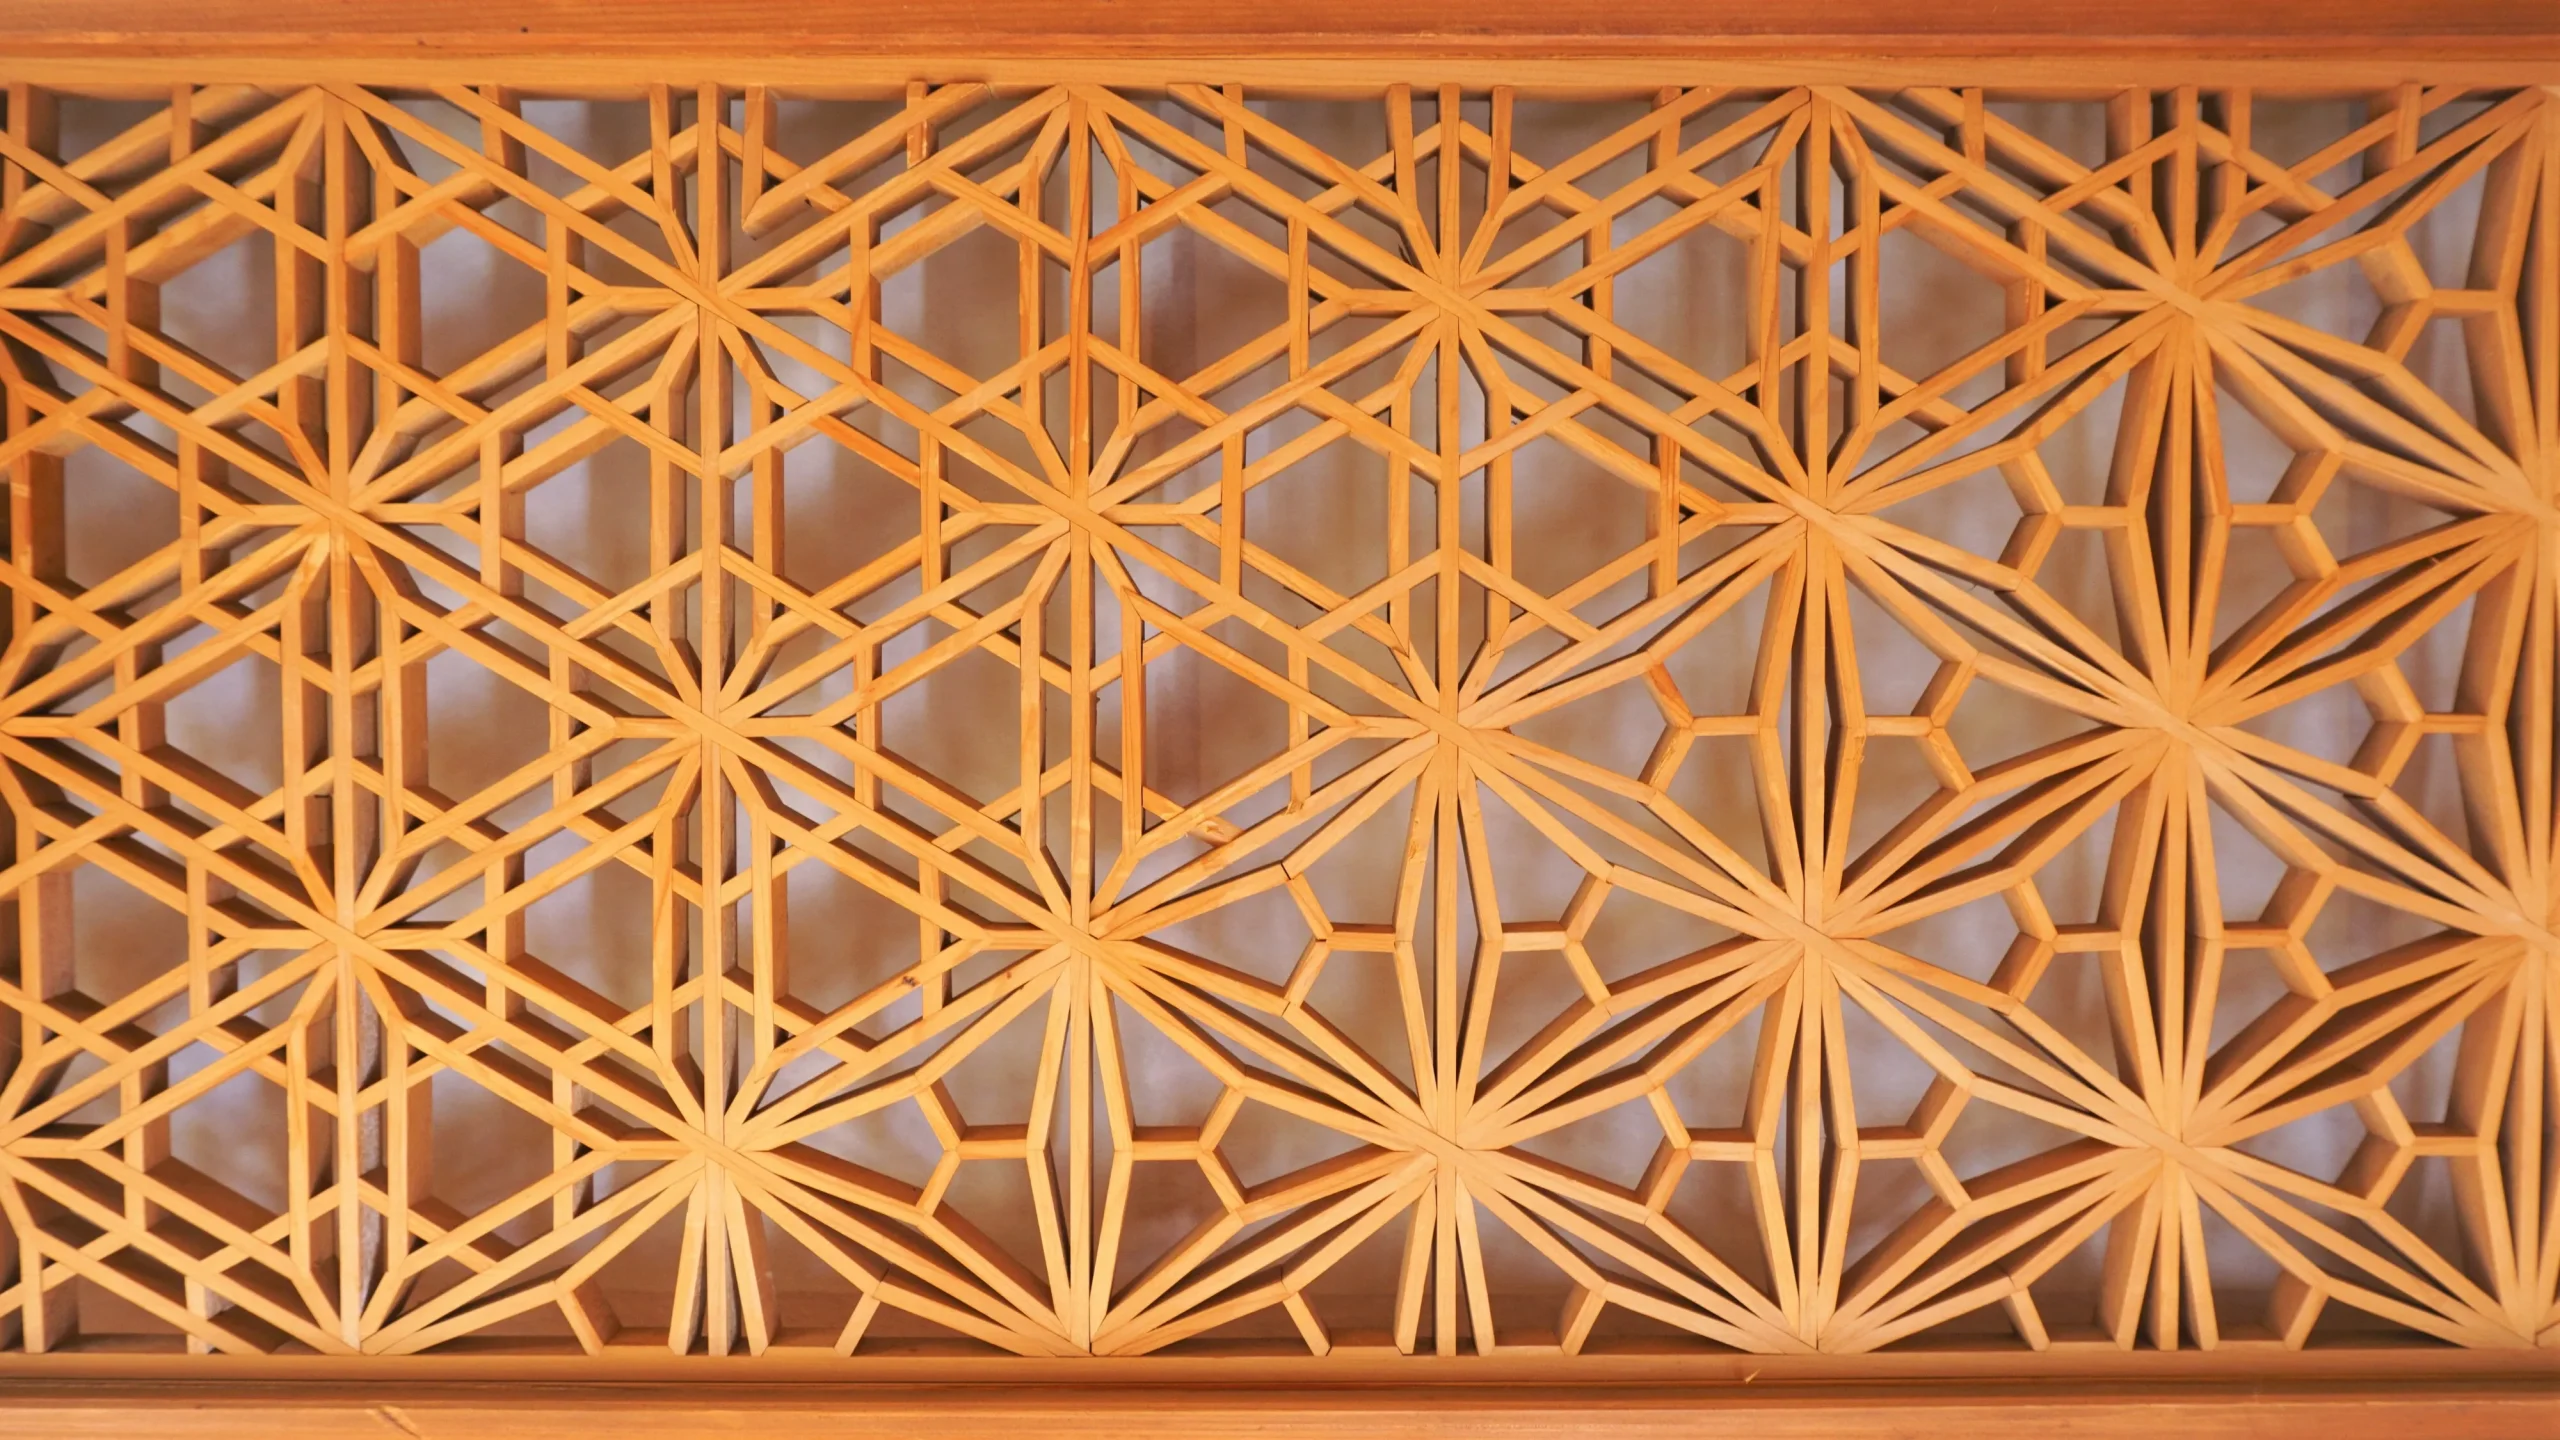
Kumiko patterns turn straight pieces of wood into repeating geometric designs. Some refer to leaves, waves, circles, or seeds, but the technique does not copy nature directly. It translates familiar forms into lines, angles, and repetition.
Look closely at a kumiko panel and the large pattern separates into individual parts. Step back, and the same pieces merge into a larger rhythm. This shift in scale is one reason kumiko can look more complex than the strips from which it is made.
Four Patterns to Look For
Kumiko workshops and makers use a wide range of patterns. These four offer a useful starting point for first-time viewers.
- Asanoha (hemp-leaf): Lines spread from repeated points, creating a sharp, star-like rhythm.
- Goma (sesame): Smaller angled elements create a dense, detailed surface.
- Shippo (seven treasures): An interlocking-circle pattern. Repeated arcs create the impression of linked forms continuing beyond one unit.
- Seigaiha (wave): A pattern of overlapping arcs. In woodwork, its wave effect comes from carefully arranged straight or angled elements.
These are examples, not a definitive list of Japan’s principal kumiko designs. Regional traditions and individual workshops use a broader vocabulary, while the background and interpretation of each pattern can vary.
How Kumiko Changes Light
Light makes a kumiko pattern easier to read. A relatively open lattice allows broad areas of light through, while a denser design divides the same light into smaller shapes.
The result depends on the setting. Daylight behind a screen does not look the same as indirect lighting behind a decorative panel. The surface receiving the shadow also matters: paper, plaster, wood, and tatami each show the pattern differently.
When you see kumiko during your trip, try three simple steps. First, look at the pattern as a whole. Then find one repeated unit and see how its pieces fit together. Finally, identify the source of light behind it. The pattern is only part of what you are seeing; the surrounding architecture completes it.
From Japanese Joinery to Contemporary Kumiko Wood Art
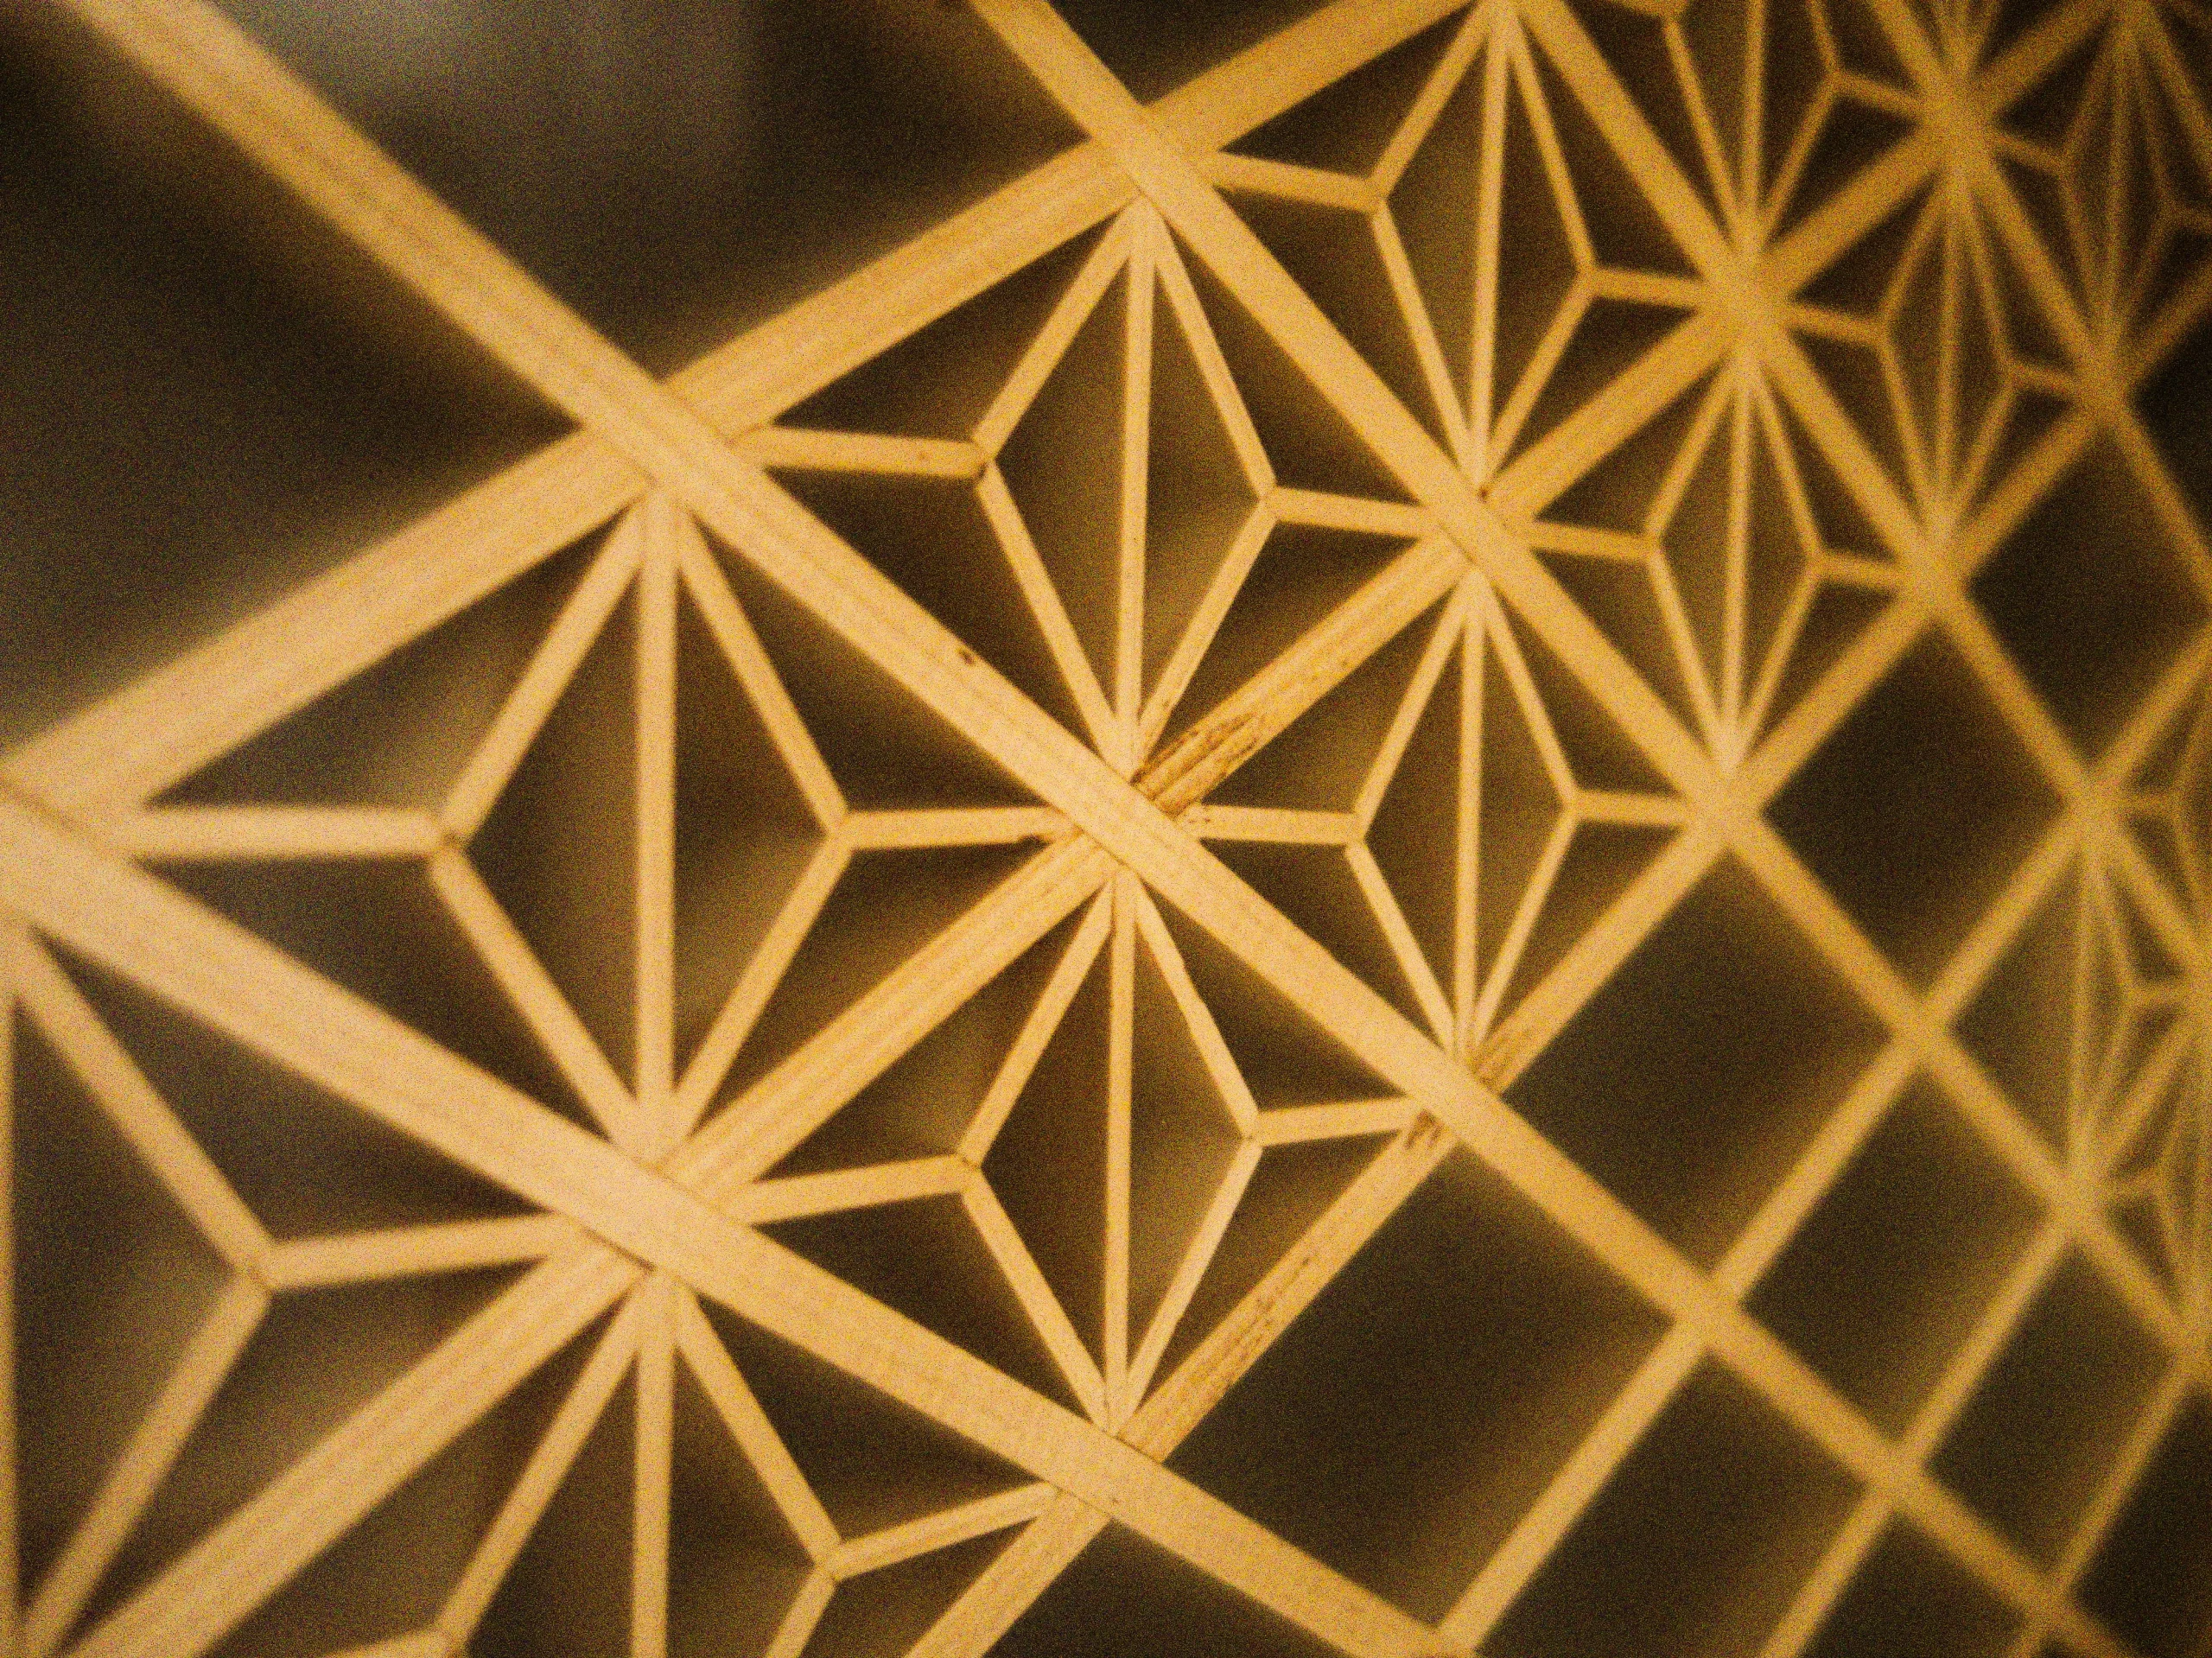
Kumiko belongs to a long history of Japanese architectural woodworking, yet it is not confined to historic buildings. Its open structure, fine wood, and repeated geometry also suit contemporary interiors.
There is no need to assign kumiko to one birthplace. It developed within wider traditions of wooden architecture, interior fittings, and specialist woodworking. One early example of latticework can be seen at Horyu-ji’s Kondo, or Main Hall, in Nara Prefecture. This early temple architecture shows how wooden grids and decorative fittings formed part of Japan’s long building tradition.
Much finer kumiko developed later as woodworking tools improved. The technique flourished during the Edo period (1603–1868), when craftspeople developed the skills and tools needed to create increasingly intricate patterns.
Regional traditions subsequently developed their own approaches. Edo Kumiko in Tokyo, Kanuma Kumiko in Tochigi, and Okawa Kumiko in Fukuoka show how a wider technique became connected with particular craft communities. Kumiko is therefore best understood as an evolving architectural craft, not as a single invention that spread unchanged across Japan.
Kumiko in Modern Interiors
The same qualities that made kumiko useful in traditional fittings make it adaptable to modern design. Today, it appears in room dividers, wall panels, furniture, and lighting.
A solid wall separates spaces decisively. A kumiko screen can create a boundary without the same visual weight. Its openings allow light through, while the wooden pattern adds texture at close range.
Backlighting offers another use. When a light source sits behind a kumiko panel, the lattice becomes more visible through changes in brightness and shadow. This approach works particularly well in calm hotel interiors, ryokan lounges, restaurants, and homes.
Contemporary kumiko wood art may function as decoration, but its relationship with light and space still reflects the technique’s architectural roots.
How Wood Changes with Time
Newly worked cedar and cypress can look pale and crisp, making their narrow strips responsive to light. In a newly completed panel, the pattern may appear especially sharp against a light-coloured wall or paper screen.
Wood does not remain visually unchanged. Depending on the species, finish, light, and surrounding conditions, its colour may deepen and its grain may become more noticeable over time.
This creates a useful contrast for travellers. A new workshop piece may look clean and pale, while kumiko that has spent years in an interior can look warmer and more settled. Age is another detail to notice rather than something to hide.
Where to See and Make Kumiko in Japan
A hands-on kumiko workshop gives you something photographs cannot: a sense of scale and fit. Handling prepared pieces makes it easier to understand how small components become a complete lattice.
For international visitors, the best workshop is not always the most famous one. Access, language support, booking requirements, and the time available in your itinerary matter just as much.
Toyama: A Workshop Near the Station
Toyama is one of the easiest places to add a structured kumiko experience to a wider journey. Kumikoza is close to JR Toyama Station, so it can fit around a train journey without requiring a full day of local transport.
The venue offers 30-minute kumiko workshops priced from ¥2,000 to ¥3,000, as well as 60-minute courses from ¥7,000 to ¥15,000. These options make it a practical choice for travellers using the Hokuriku Shinkansen or spending a night in Toyama before continuing to the Tateyama Kurobe Alpine Route.
Because the venue is indoors and just a two-minute walk from Toyama Station’s South Exit, it is also a useful option when rain makes an outdoor plan less appealing. Workshops require advance booking. English support is provided through English-subtitled videos and translation devices, and an English interpreter can be arranged for ¥10,000 per hour (tax included) if requested at least two weeks before the workshop date. Payment is cashless, so bring a suitable payment card.
Kanuma: A Craft Stop on a Nikko Journey
Kanuma, in Tochigi Prefecture, has its own regional tradition of kumiko woodworking. For travellers already visiting Nikko, it can add a hands-on craft experience to a wider journey through Tochigi.
Introductory activities can include making a small kumiko coaster from prepared components. This does not reproduce every stage of professional work, but it makes the logic of the pattern easier to understand. You can see how the pieces enter the grid and how their order affects the finished design.
At Kanuma’s Furusato Traditional Wooden Crafts Museum (木のふるさと伝統工芸館), visitors can make a kumiko coaster for ¥2,000. Groups of 15 or more should book in advance. According to Kanuma City’s latest notice, the centre currently opens from 10 a.m. to 4 p.m. and closes on Tuesdays and Thursdays. Confirm opening arrangements, language support and transport connections before visiting. Allow enough time for travel, as Kanuma is separate from Nikko’s main sightseeing area.
Tokyo: Edo Kumiko in the Capital
You do not have to leave Tokyo to encounter a regional kumiko tradition. Edo Kumiko continues the city’s history of specialist joinery and decorative woodworking.
Edo Kumiko Tatematsu in Tokyo’s Edogawa ward has offered workshops in which visitors assemble an asanoha-pattern coaster. Tokyo Metropolitan Government’s 2025 experience guide listed a 60-minute session conducted mainly in Japanese, with limited English communication. Travellers interested in participating should contact the workshop directly to confirm current availability, fees, and reservation arrangements.
For an international group, it is worth asking whether an interpreter can join or whether a tour organiser or hotel concierge can help with communication. Even without a hands-on session, Edo Kumiko adds another perspective to a Tokyo visit. The city is not only a place of contemporary architecture; traditional craft workshops continue to work within the same urban landscape.
Okawa: A Woodworking Region in Kyushu
Travellers continuing to Kyushu can explore another woodworking region in Okawa, Fukuoka Prefecture. The city is associated with furniture production and regional woodworking, and Okawa Kumiko developed within this wider craft environment.
Okawa shows that kumiko is not one uniform national style. Regional industries, workshop traditions, and generations of specialist makers have shaped different approaches to the craft. Its wood-based industry developed from boatbuilding and expanded into furniture, fittings, and interior woodworking, creating the setting in which Okawa Kumiko could develop.
This option requires more planning than a workshop beside a major station. Public access and English-language experiences should be checked before travelling specifically for kumiko. For visitors already exploring Fukuoka and northern Kyushu, however, Okawa can broaden the story from one decorative technique to the communities that continue to work with wood.
Before You Book: Five Questions to Ask
Workshop conditions vary. Check these practical points before adding one to your itinerary:
- How long does the session take?
- Is advance booking required?
- Is instruction available in English or simple English?
- Can beginners join, and can you take the finished piece home?
- How will you reach the workshop from your hotel or nearest station?
Groups should also check the maximum participant number. Families may need to confirm minimum ages, while travellers who need step-free access should ask the workshop directly about its facilities.
A few questions in advance can turn an uncertain detour into a well-paced part of your journey.
Kumiko Woodworking Kits: What You Can Learn at Home
You do not need professional woodworking tools to continue exploring kumiko after your trip. A beginner’s kumiko woodworking kit can help you understand pattern and assembly sequence, although it does not reproduce the complete craft.
Standard beginner kits provide pieces that have already been cut and prepared. You therefore skip much of the work that requires professional skill: selecting timber, bringing strips to precise dimensions, cutting angles, and preparing joints.
That limitation also makes a kit accessible. As you place the pieces, you can see which component comes first and how later parts complete the pattern. A design that looked complicated on a finished panel begins to separate into understandable units.
How to Choose and Assemble a Kit
Begin with the pattern and difficulty level. A simpler repeated design will usually teach the basic structure more clearly than the most complex pattern available.
Then check the finished size, wood type, and intended use. Some kits produce coasters or small panels, while others are designed as larger decorative pieces. Also check whether the kit requires glue, extra tools, or cutting, and whether it provides instructions in English.
Work on a clean, flat surface. Do not force a piece that does not fit. First check its direction and the assembly order in the instructions. If the kit requires blades or other cutting tools, follow the maker’s safety guidance.
A kit cannot replace years of professional training. It can, however, help you understand—piece by piece—what you saw in Japan.
See Kumiko Differently on Your Japan Journey
Once you understand how kumiko is made, the finished pattern becomes easier to read. You can recognise not only decoration, but also the decisions behind the wood, geometry, and surrounding light.
First, look at the rhythm of the pattern. Find one repeated unit and follow it across the lattice. Notice where the density, direction, or scale changes.
Second, look at the wood itself. Compare the grain, colour, and surface of the narrow strips. In an older interior, consider how the material may have changed with time.
Third, look at the light behind it. Find the window, paper screen, or artificial light source, and watch how the openings affect the surface beyond.
You can use these observations beyond a workshop. Look for kumiko in a ryokan, temple, hotel, restaurant, or gallery. When you find it, consider both the pattern and the space around it.
Kumiko brings together close attention to material, repeated precision, and an awareness of how an object belongs within its surroundings. A workshop lets you feel that precision for yourself, while a craft region shows how these skills continue through local businesses and specialist makers.
After learning how kumiko is made, look for it beyond the workshop. A lattice screen in a ryokan, temple, or hotel may reveal the same relationship between wood, geometry, and daylight. If craftsmanship is part of the Japan you would like to discover, consider giving a workshop or craft region a place in your itinerary rather than treating it as an extra stop.
Reference